Do you want to amp up your Christmas tree decorating skills? Are you tired of resenting those fancy trees on Instagram? Resent no more. Here’s a step-by-step guide to achieving that super fancy, designer tree look.
Inventory First
A fancy tree has an assortment of different elements, not just ornaments, so first, take inventory of what you actually have in the house. Gather everything you own that could possible go on the tree. This could include: lights (if you don’t have a pre-lit tree), traditional ornaments, ribbon, big bows, filler, pinecones, garland, faux flowers, and honestly anything else you want to stick on your tree. I mean it – anything. It’s your tree. Go for it.
Do you have at least three of the above elements for variety? For example, you can make a fabulous tree with garland, ornaments, and faux flowers.
Or you could use glittery pinecones, ribbons, and ornaments.
The key here is variety, but the actual variations are again up to you!
Find yourself without enough variety? Time to go shopping! The cheapest way to add variety to a tree is with bulk ribbon. Go to any local craft store (or order online) and purchase multiple large spools of wired ribbon. Why wired? Because you can manipulate it easily on the tree. If you’re a beginner, trust me – you want wired ribbon.
If you’re ok with spending a little more, get a bunch of filler. What’s filler? The interesting “stuff” in the tree that doesn’t fit into any other category. I wish I could be more specific…but here’s an example.
Buy a LOT. Like at least 20 pieces of each kind of filler. Trust me – you need a ton to make filler work. (Pro tip: Head out to a craft store the day after Christmas for some amazing deals on filler. I go every year to stock up!)
Pick a Theme
Every “fancy” tree has a theme. The theme can be colors, like a red, gold, and white tree. It could be textures, like an all-glass tree. It could also be subject matter, like a Santa tree.
Here’s the key: not all of your ornaments need to go onto the tree every year. You must accept that fact if you’re going into fancy tree territory. For my tree this year, I went with a loose color theme of red, blue, gold, and silver. My son chose it, and I was happy to oblige!
Add Lights
This step is clearly optional, since most faux trees nowadays come with lights. However, if your tree is real, or if your faux tree is lackluster in lighting, add your lights first. Wrap the lights around each branch, moving back and forth into and out of the tree, for the coolest effect. Be warned though – this uses a LOT of lights.
(I don’t do this step because we have cats, so we have pre-lit fake trees. I don’t enjoy ripping them out of real trees. It’s not fun.)
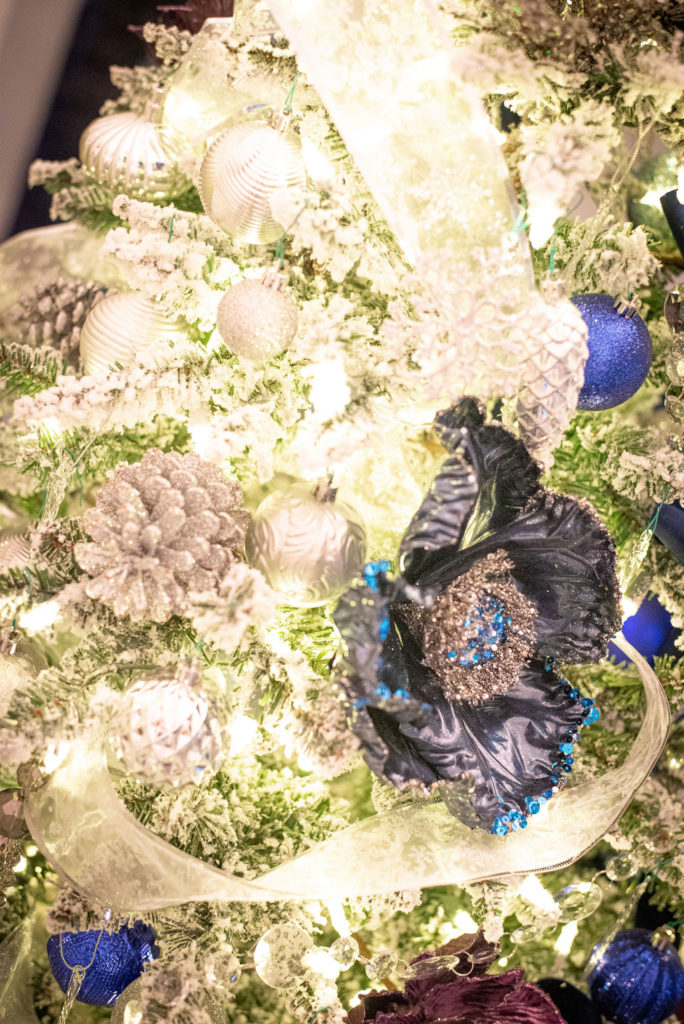
Add Giant Bows and Flowers
Giant bows and flowers are the first thing I put on my tree. Why? Because they take up a lot of space and can fill in some of the larger holes in the tree.
A few tips: Don’t stuff the bows deep into the tree. Use coated wire to attach the ribbons to the outer branches. Same with the flowers – they should stick out of the tree a little, not be buried deep inside. Spread a few out evenly over the tree.
It’s not going to look finished…because it’s not finished. Move on.
Add Ribbon and Garland
If you’re using either of these elements, they need to be draped onto the tree next. Make sure the garland and/or ribbon is draped pretty loosely. Stuff the ribbon into the tree every once in a while to make it stay if you need to.
The tree will NOT look good when you’re done with this step. This is one of those foundational building block steps that you won’t appreciate until your tree is finished. That’s ok. Just leave it.
Add Ornaments
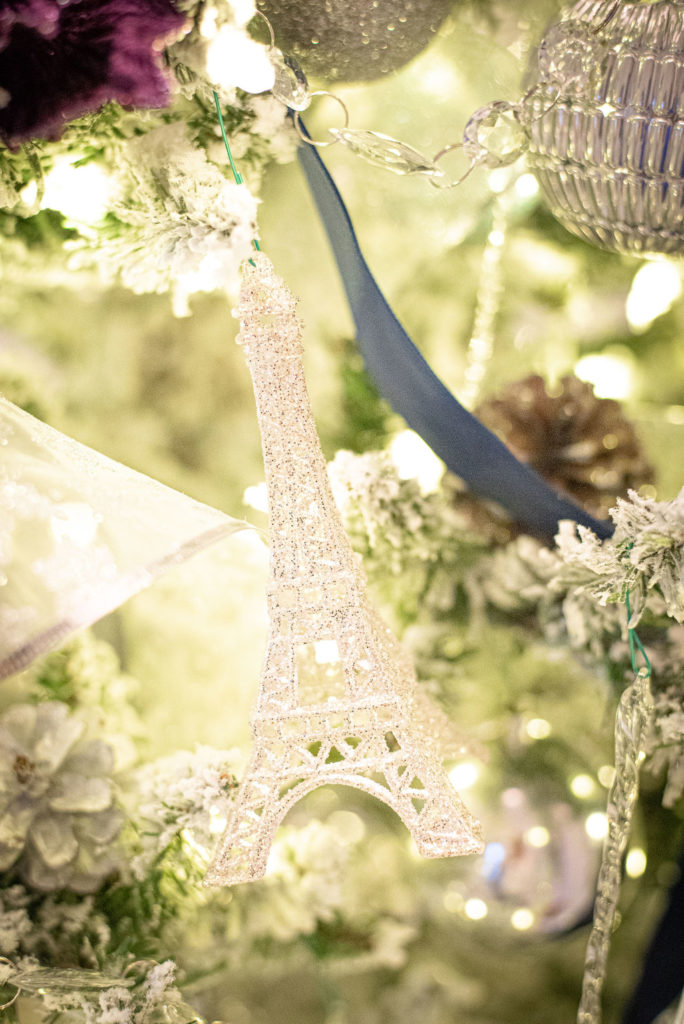
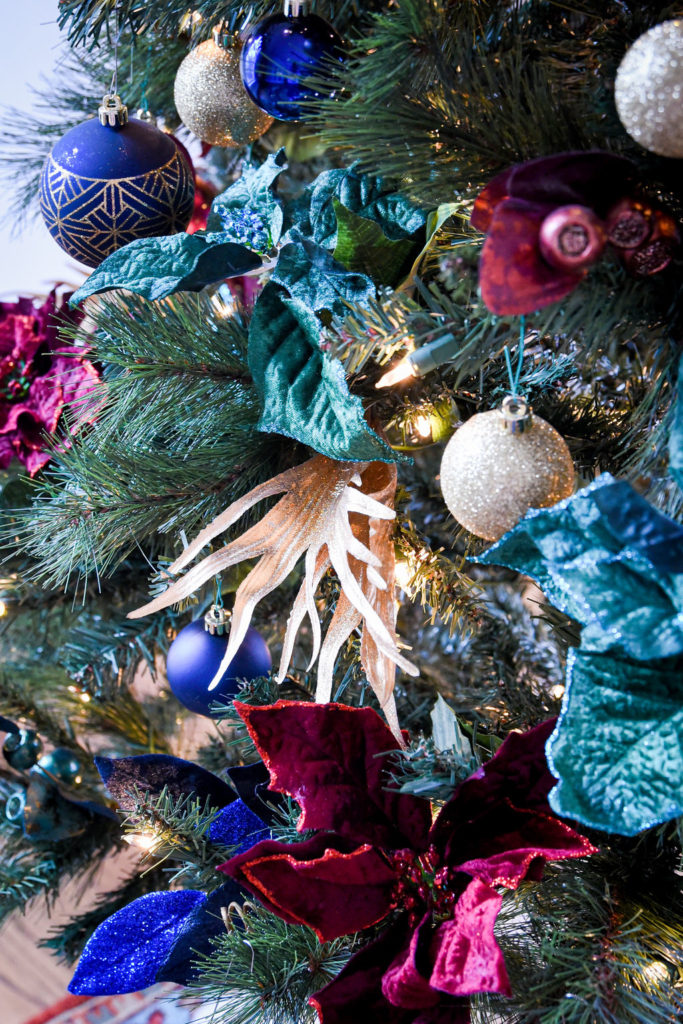
Ok, now get to putting all those treasured ornaments on the tree! Our family has our “personal ornaments” and I have my “generic ornaments.” My first step is to always look through the cherished personal ornaments to see which of those will fit in with my theme.
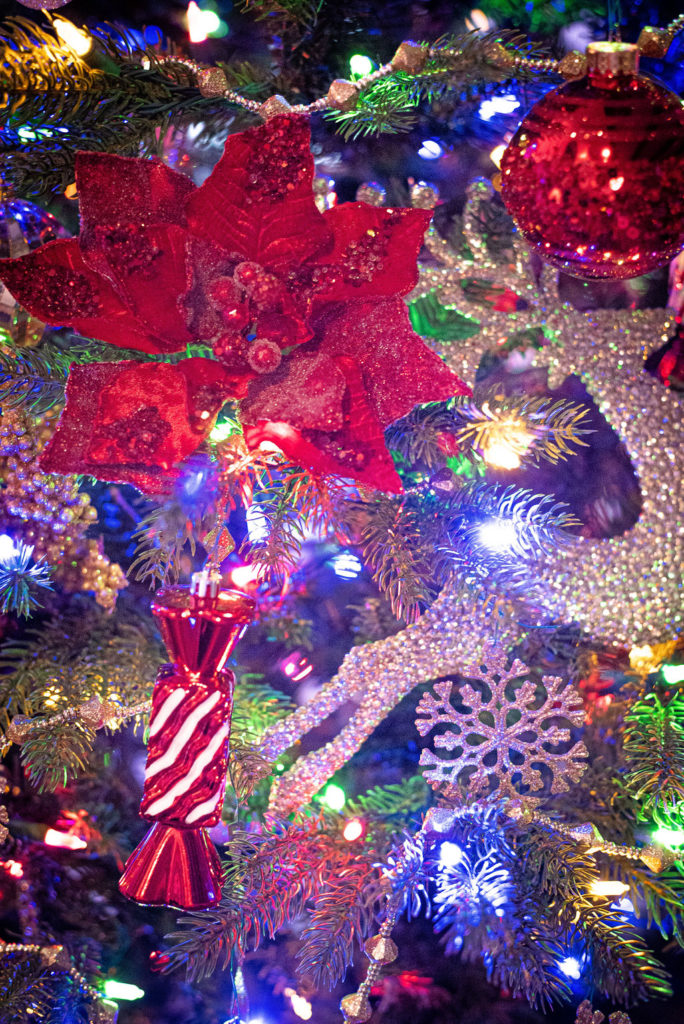
This year, I selected all the ornaments with mostly white, blue, and red colors.
After hanging all the sentimental ornaments, I moved on to the more generic ones that fill in the space and also create that cohesive themed look. This year, I chose silver, gold, red, and blue ornaments.
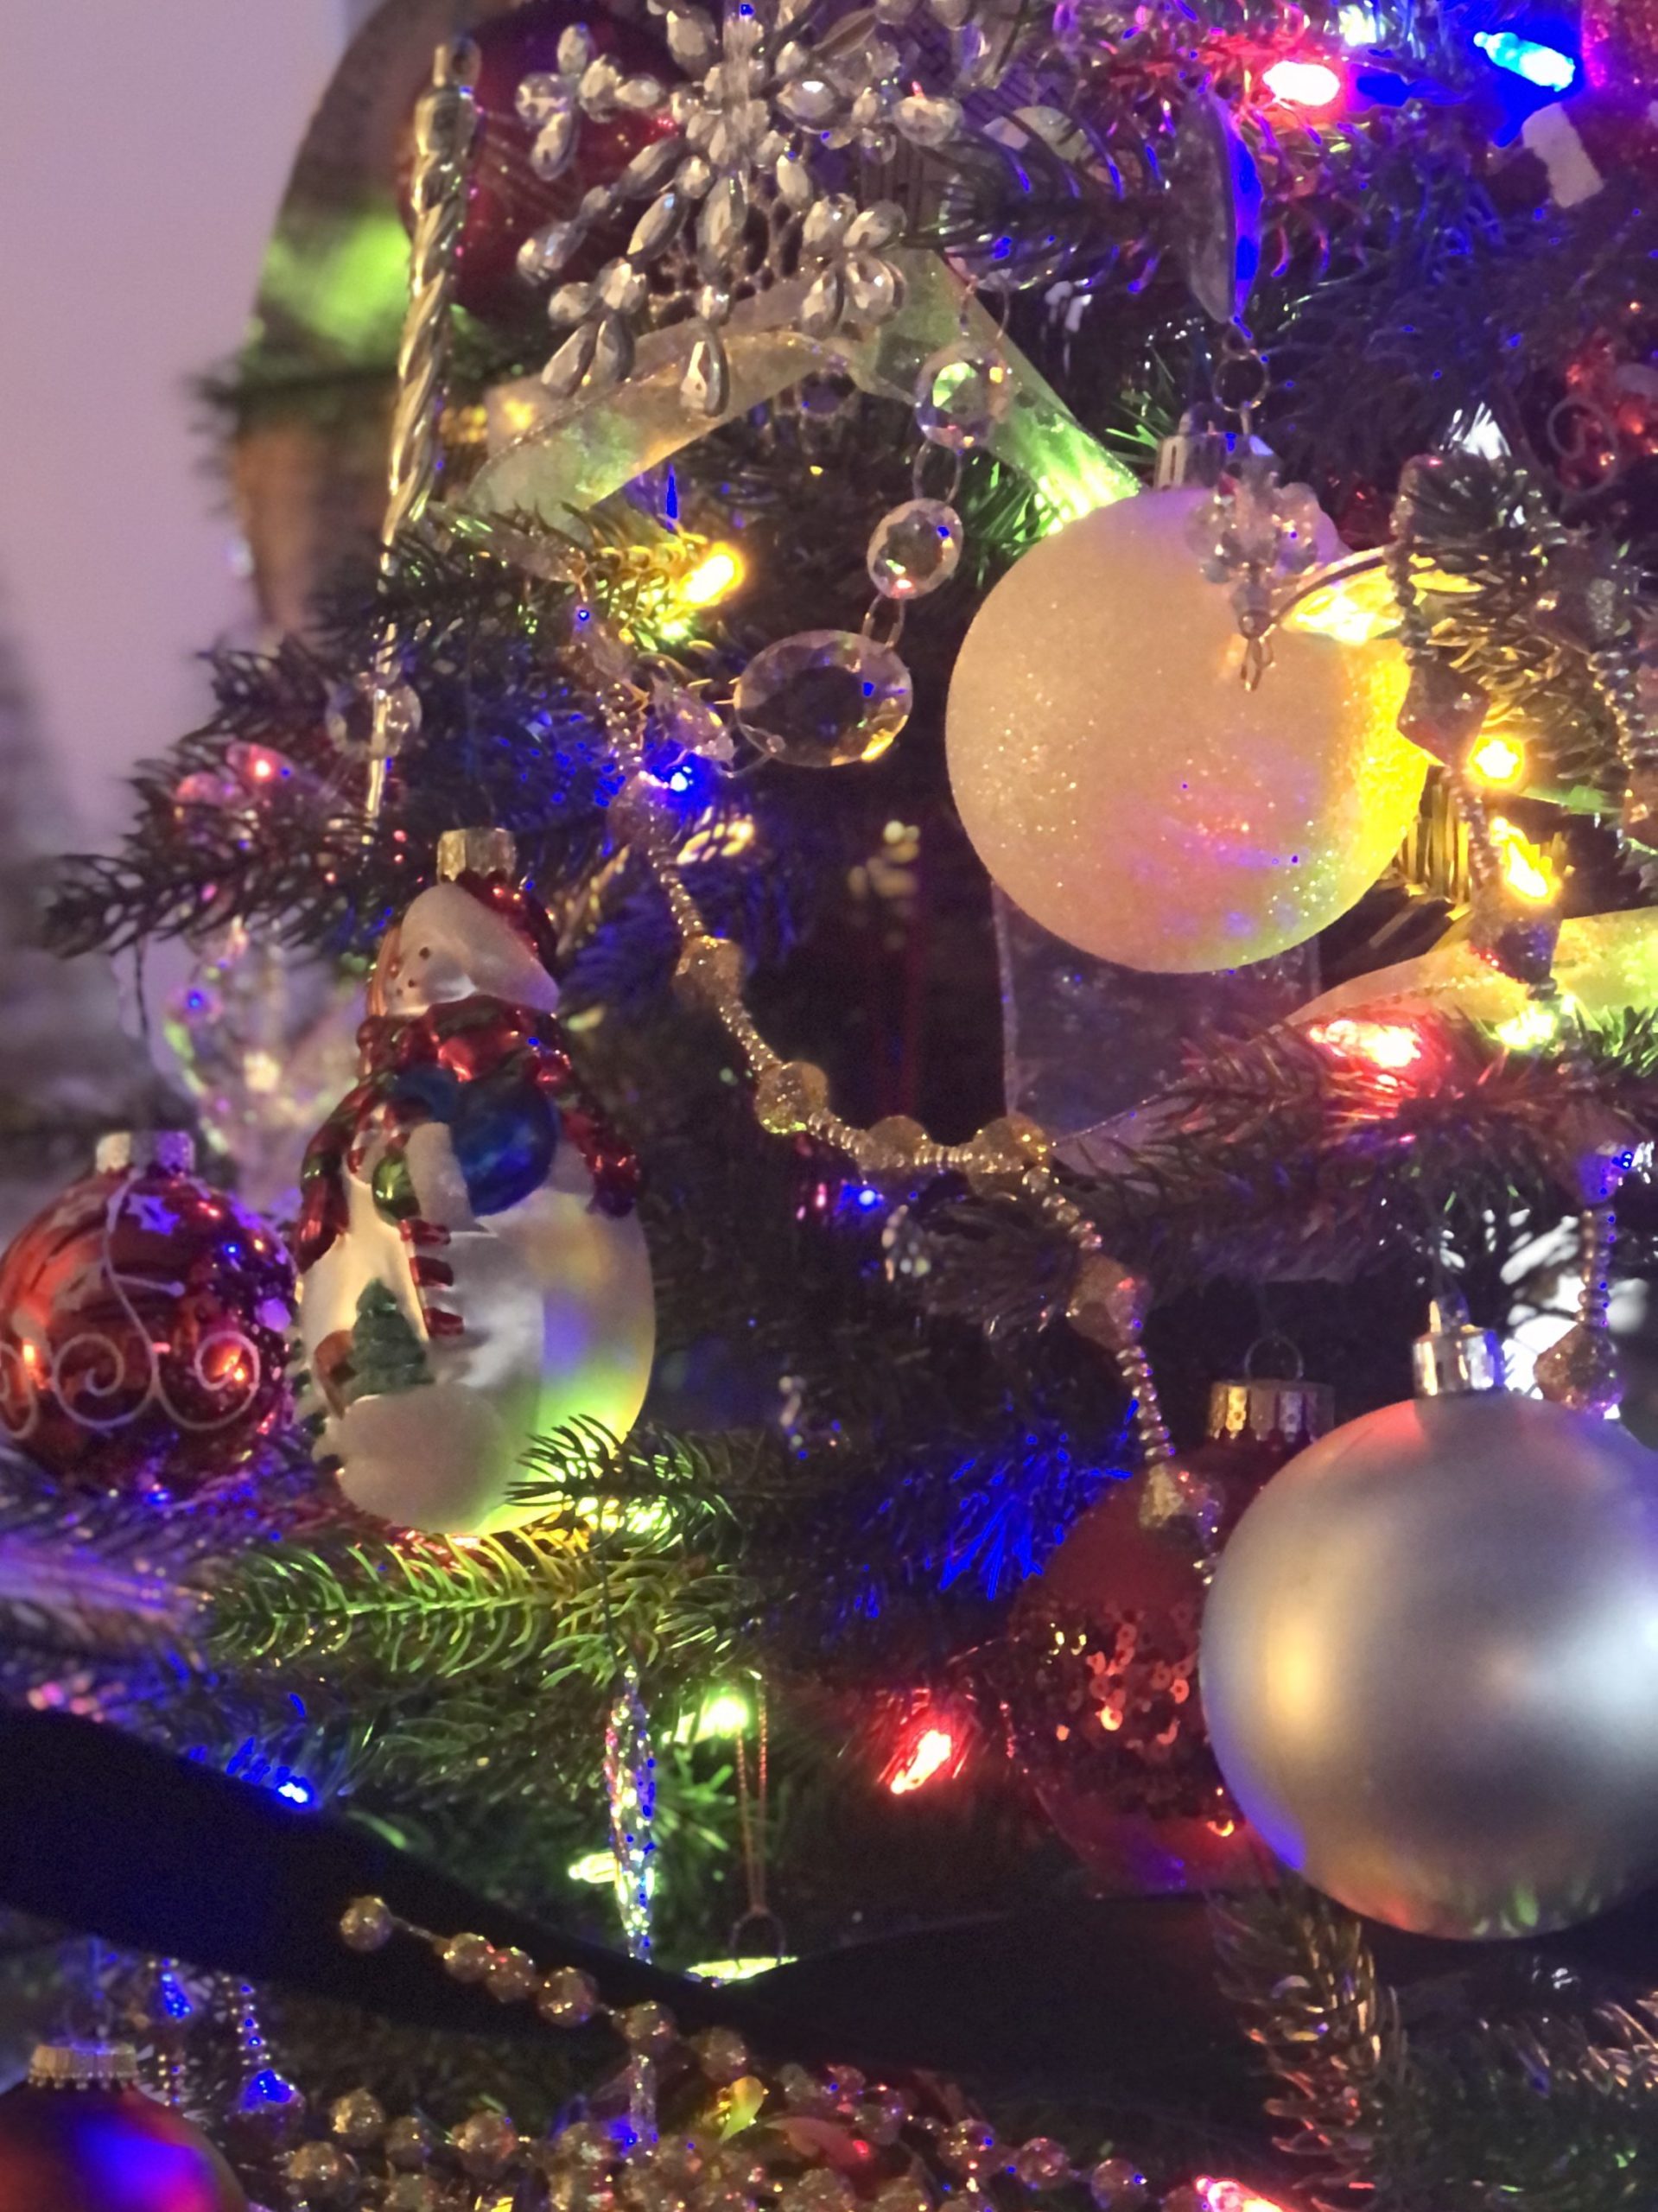
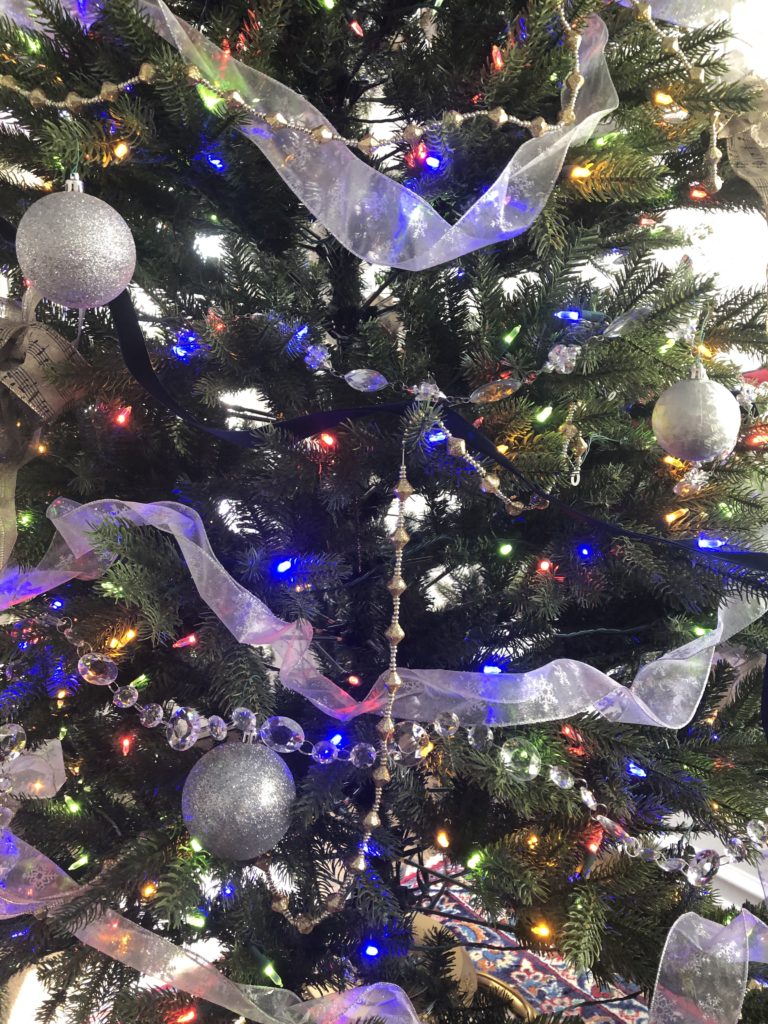
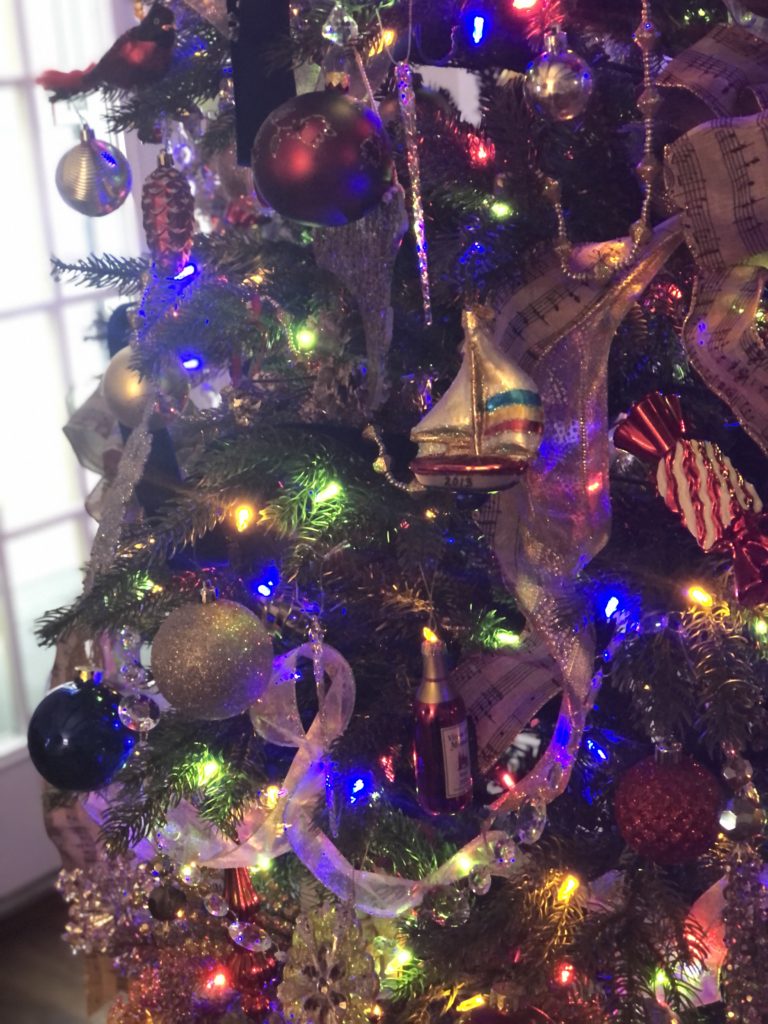
I use a variety of shatterproof balls, glittery snowflakes, and other random color-appropriate decor.
Pro Tip: Don’t just hang ornaments on the very ends of the branches. Wherever there is space, layer your ornaments toward the inside of the tree. This will create depth and interest.
Another Pro Tip: Keep hanging ornaments. Use almost every branch. Seriously. This is why I have so many shatterproof ornaments that come cheap in large containers – professionally decorated trees use a TON of decorations!
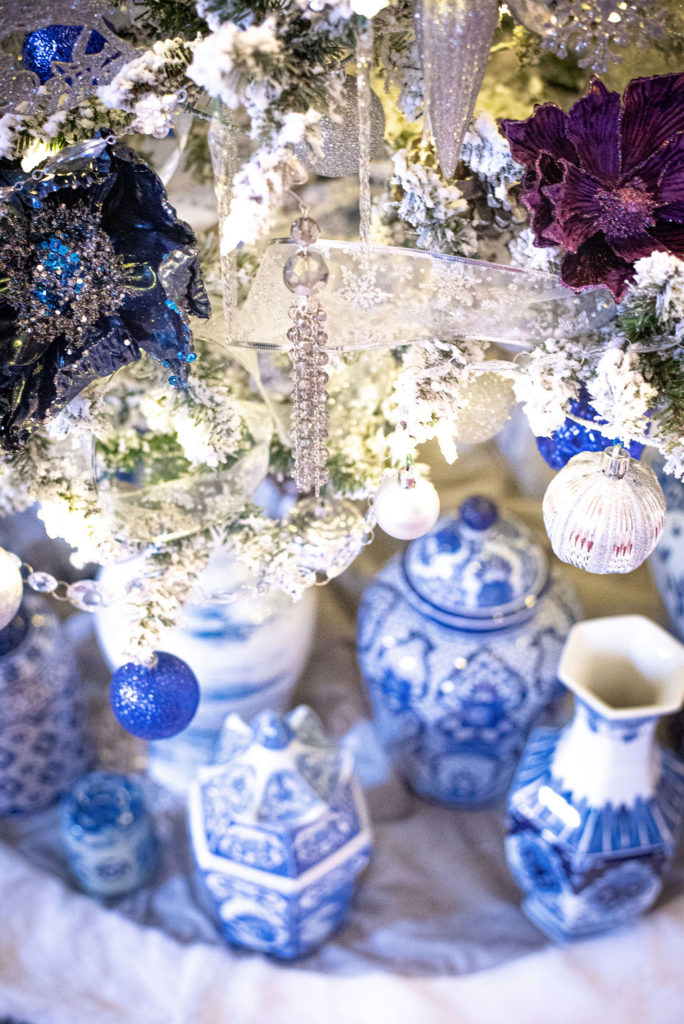
Fill in Gaps with Filler
There will likely still be some smaller holes or places with not enough of a layered look. This is where your filler comes in handy!
This part isn’t about precision either. Just find a blank spot and put something there. Make sure you don’t shove the filler too far into the tree or you won’t see it. It’s ok if it sticks out of the tree a few inches. It’s supposed to.
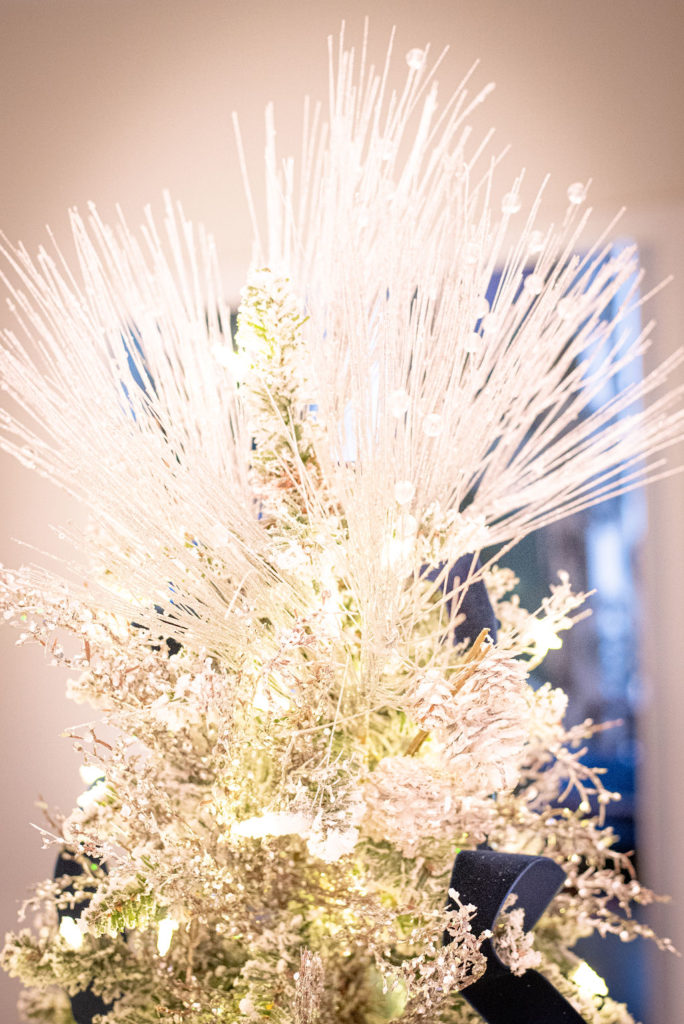
Top Your Tree!
Honestly, you can really do this at any phase you want to, but for some reason, I like saving the top of the tree for last. Maybe it’s an homage to the star or angel we’d put on my tree growing up. It always went up last!
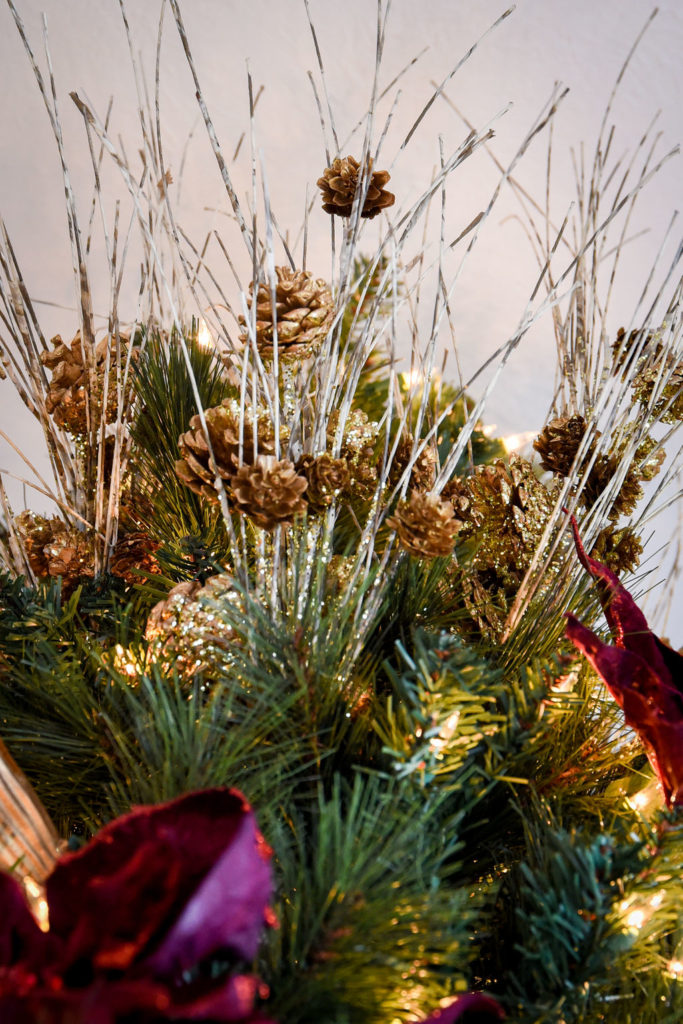
For the fancy tree, you’ll want to also layer the top. I tend to gravitate to flowers, bows, and fillers for the top. You can add a star in here too, if it’ll fit. My tree is 9′ tall and we have beams that stick down. In true Clark Griswold style, a traditional star just won’t fit!
Here’s my tree this year – it has a mix of red and white flowers, gold ribbon, and gold filler.
Here’s another more simple topper of just filler with pinecones.
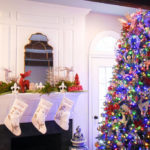
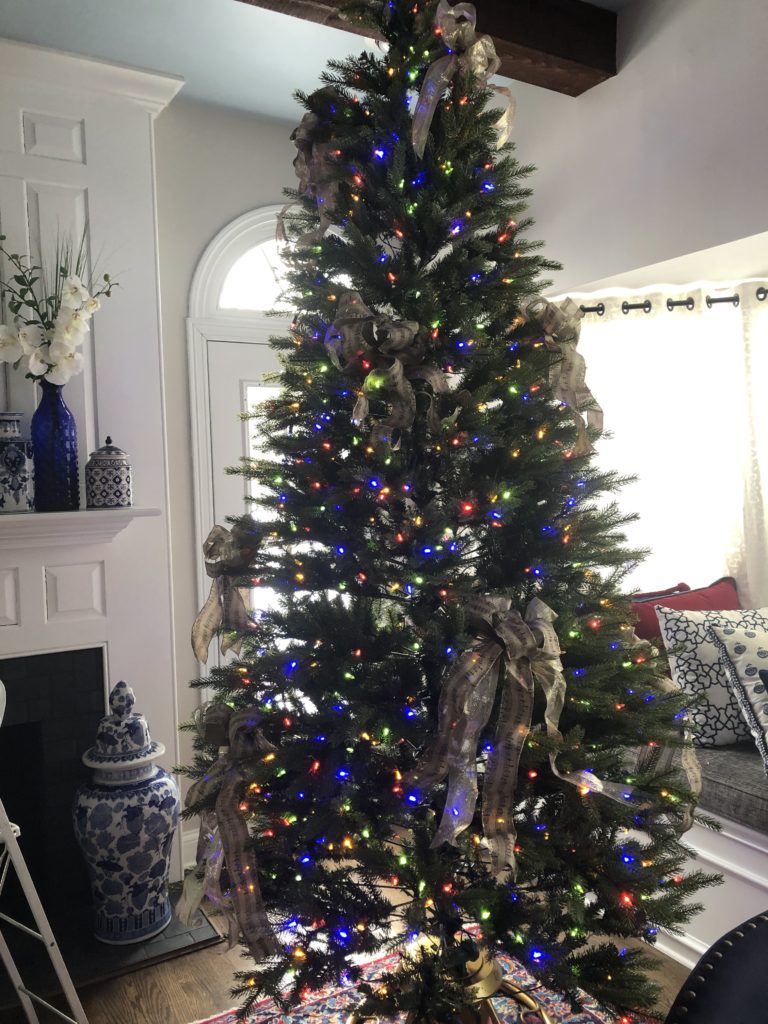
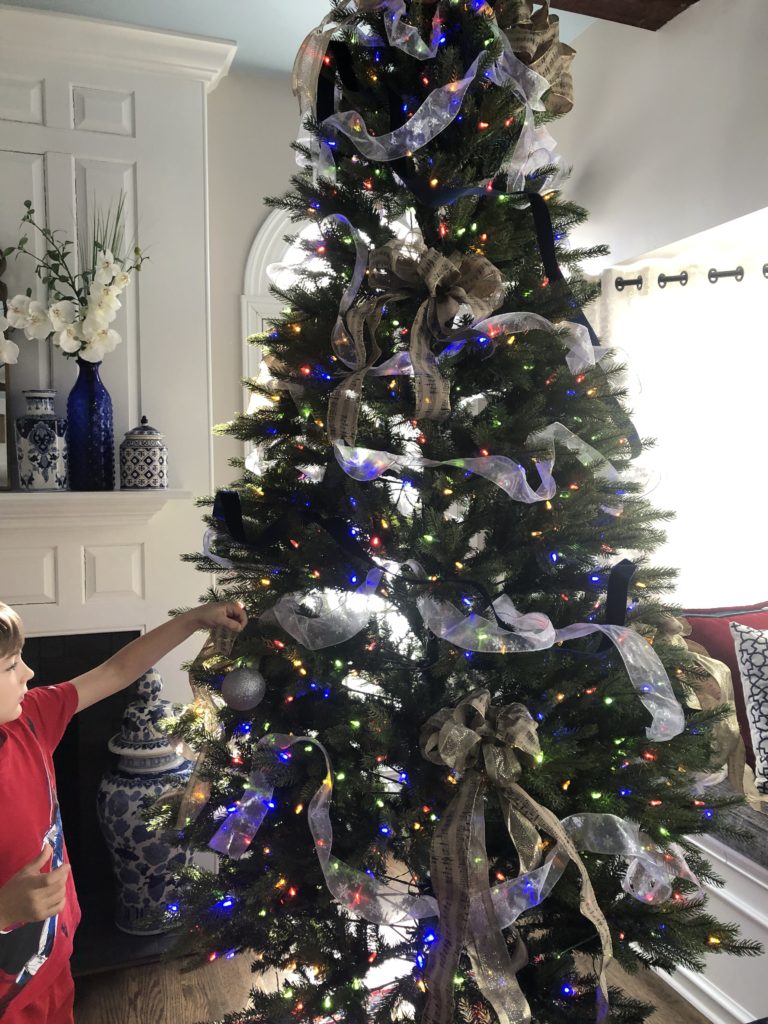
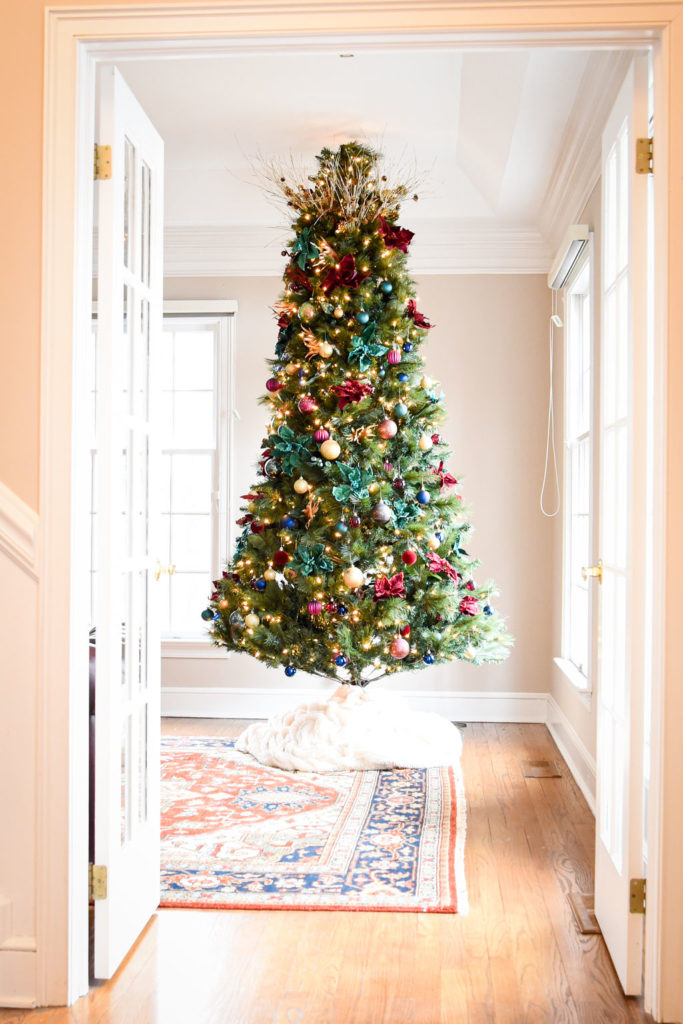
In case you’re curious, here’s what the whole tree looks like.
Celebrate
If you hadn’t already grabbed a beverage of your choice whilst decorating, grab one now and give yourself a huge pat on the back! You now have a fancy Christmas tree!!
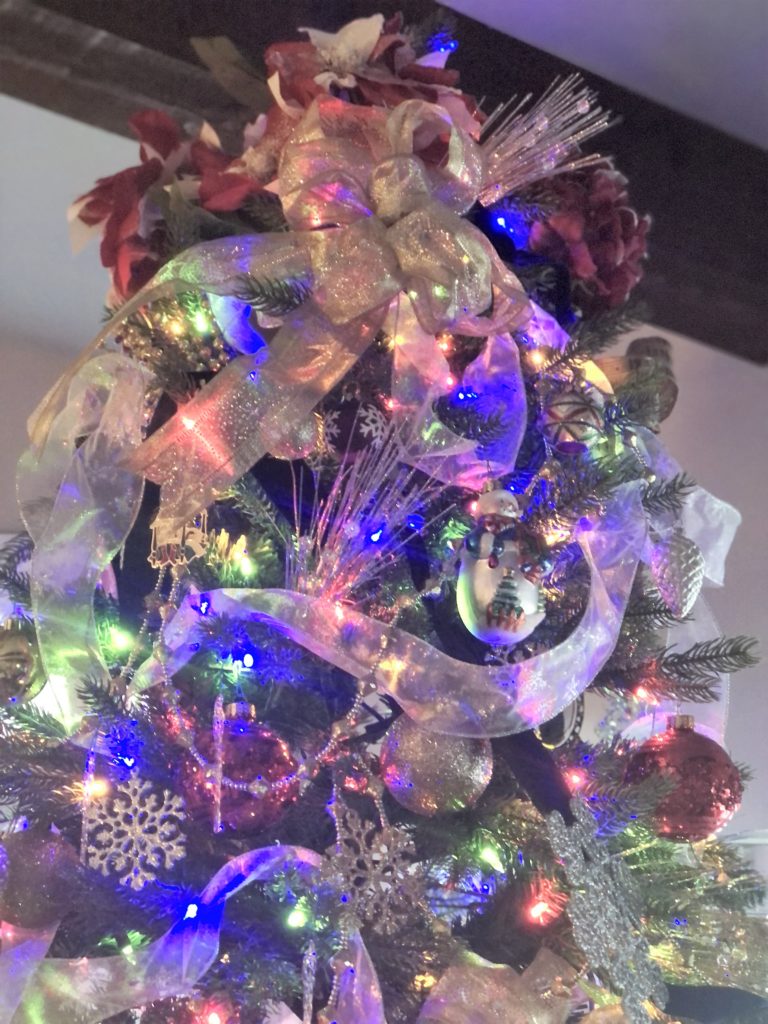
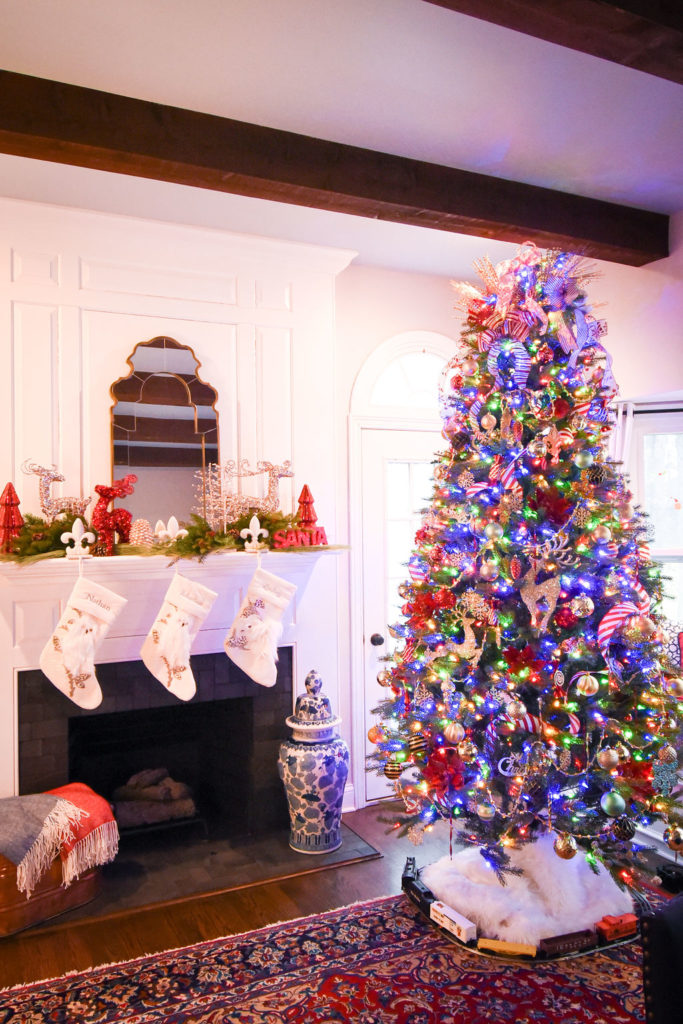
Here’s mine this year.

See how that haphazard ribbon just kind of fits in with the rest of the décor at the end?
For more of your viewing pleasure, here are some professional photos of my tree last year. Last year’s theme was candy canes! This tree had a LOT of big bows and ribbon.
Here’s some of the ribbon up close.
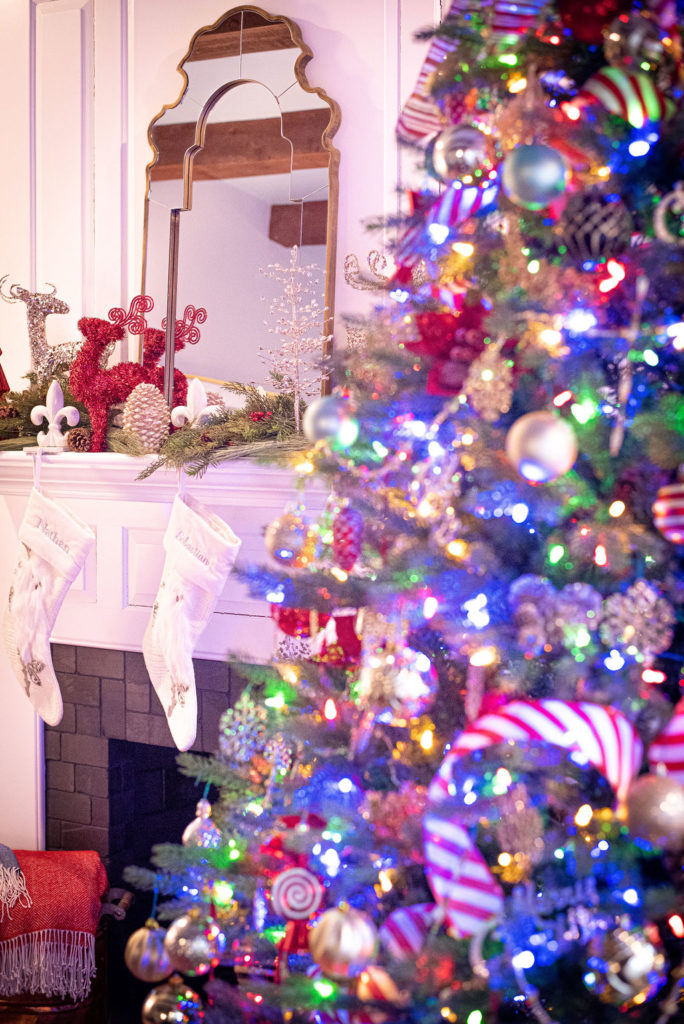
Yes, I made all of those bows! You can make them too. Here’s a bow tutorial I made!
Feel free to email me pics of your completed trees! I love seeing what you put together! Got questions? Contact me!